Running a Simulation
Once a circuit is wired up, Run hands it to the simulation engine, which traces power from every supply, resolves the electrical state of every net, and settles the circuit — LEDs light, chips report their health, and the probe and logic analyzer come alive. This page covers the transport (Run, Pause, Step, speed), what the signal levels mean, what triggers a re-settle, and what you can still interact with while the circuit runs.
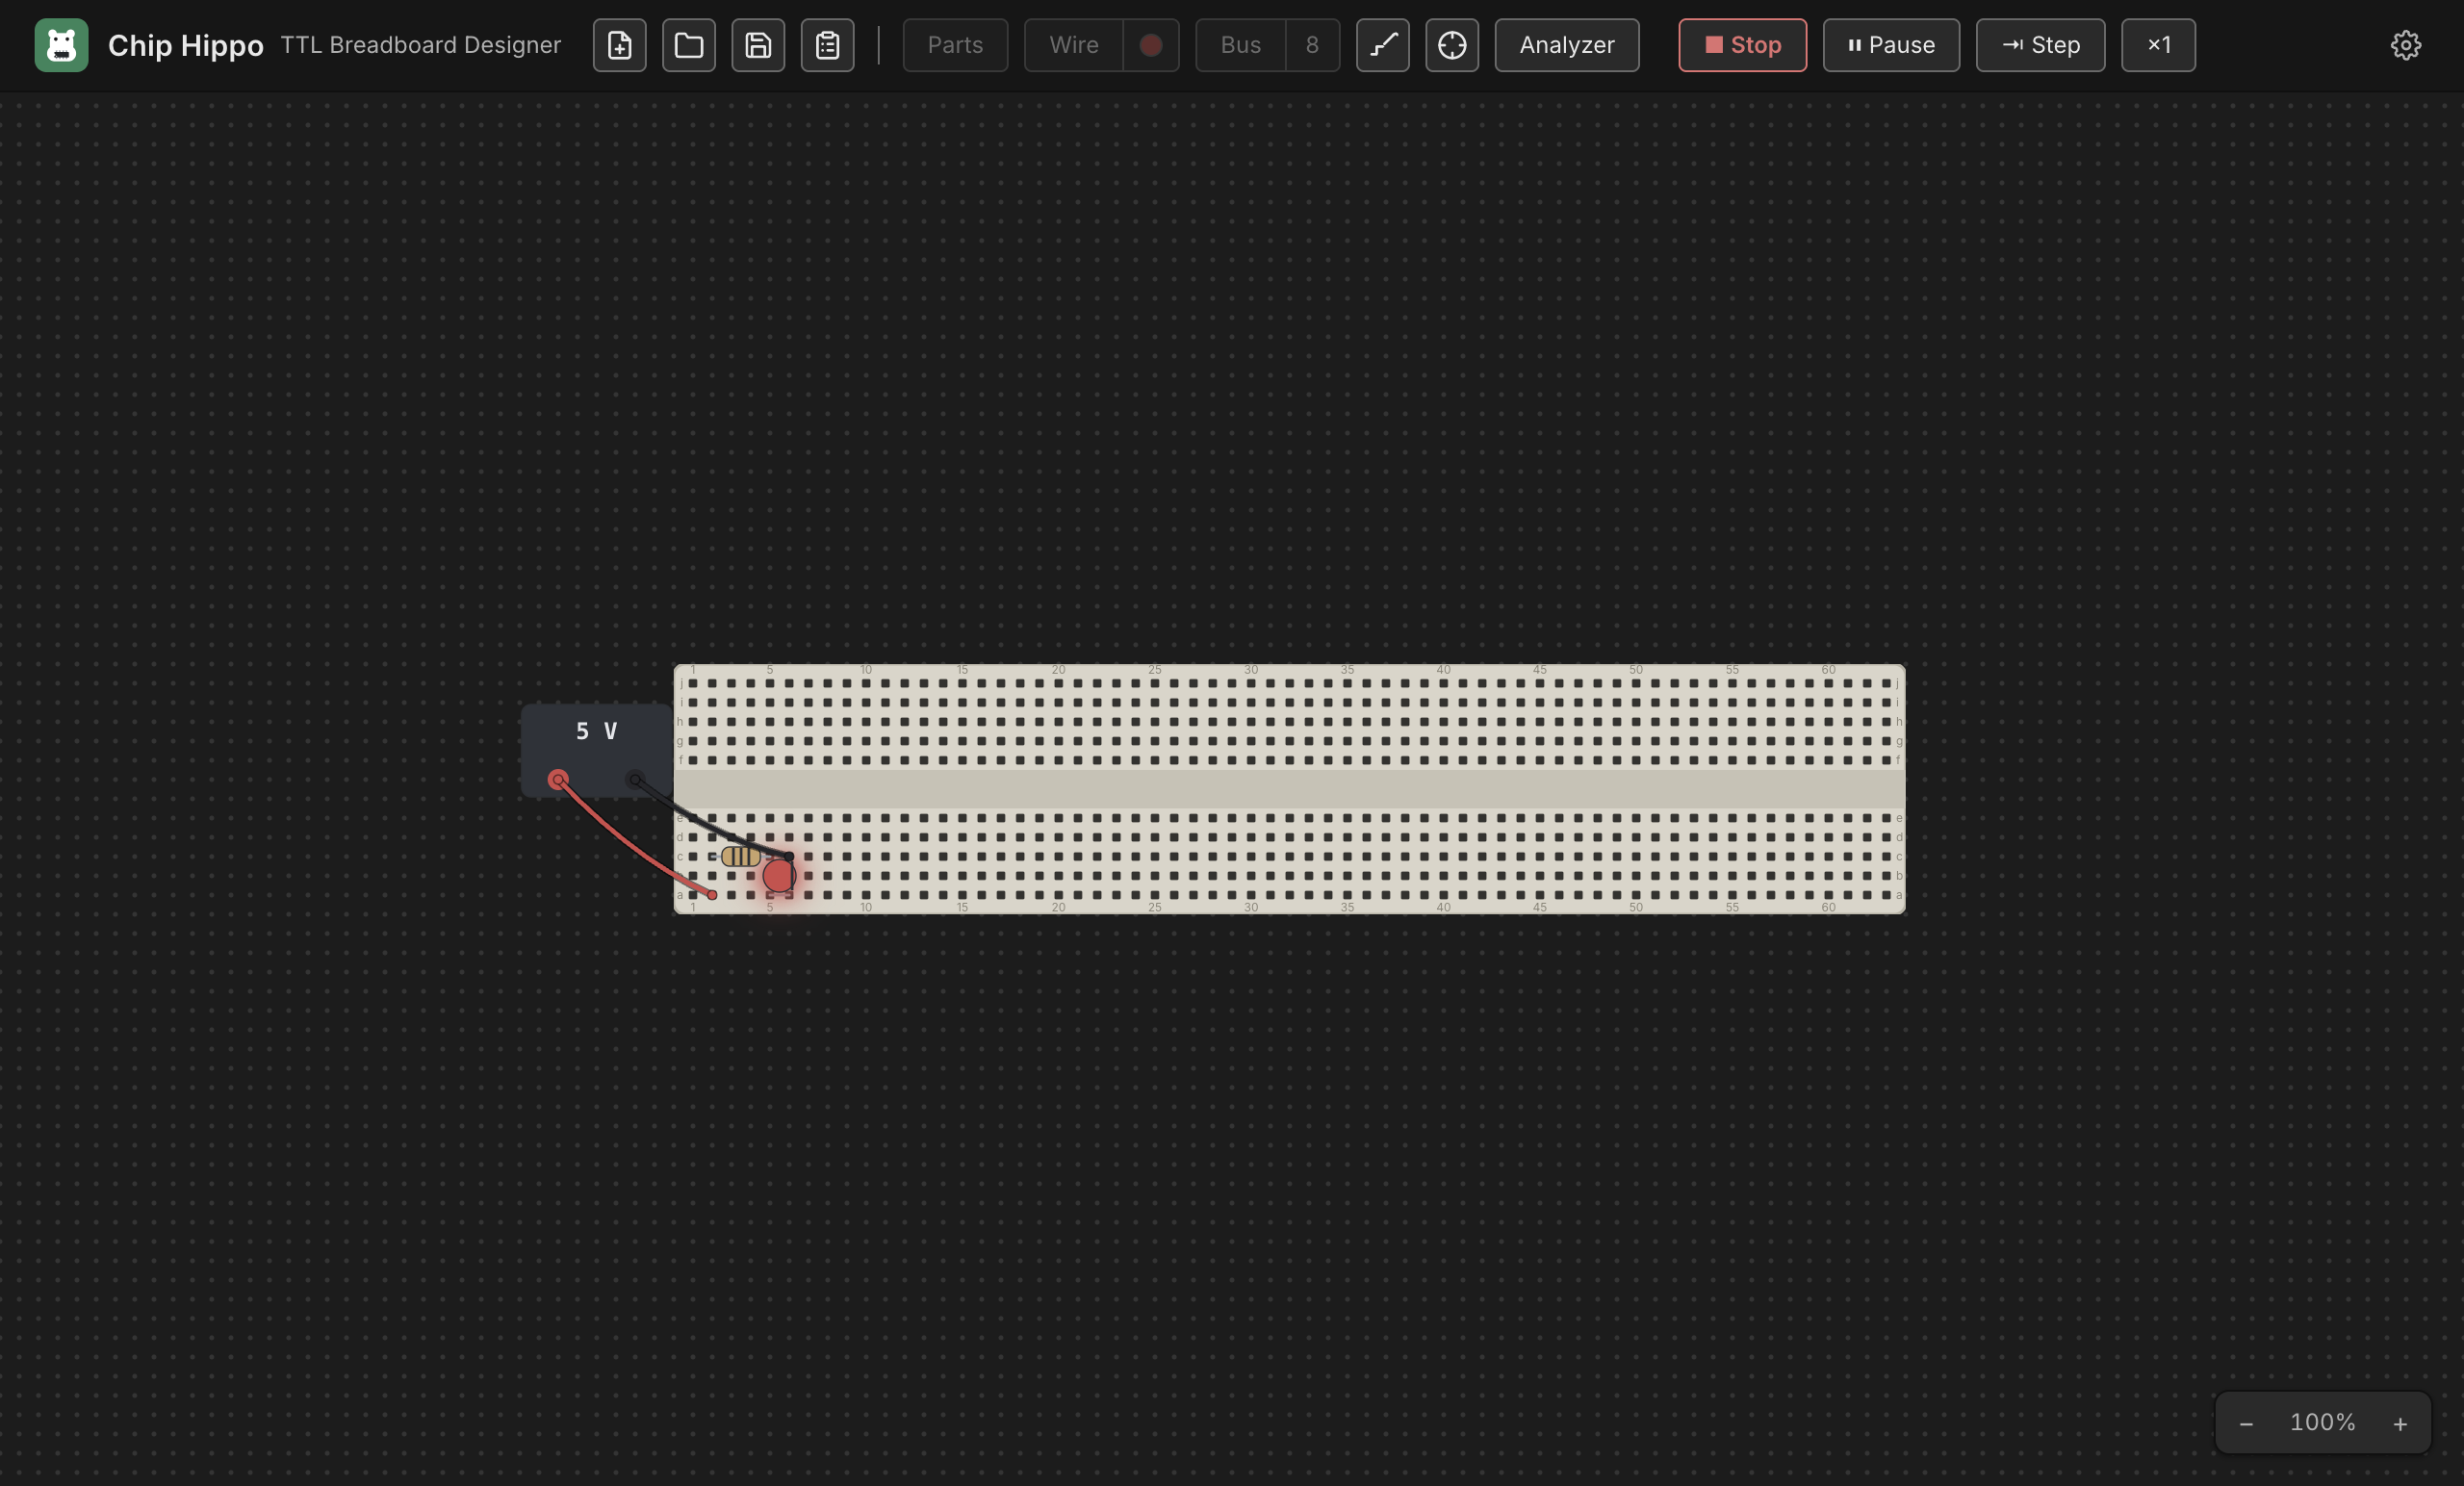
Run & Stop
Press Run in the header toolbar — or the shortcut Space / Cmd+R
(Ctrl+R on Windows/Linux) — to start the simulation. The button becomes
Stop, editing locks (you can't move parts, place new ones, or lay wires
while running), and the engine cold-starts: it settles the circuit once from
scratch and begins driving live views from the result.
Press Stop (same shortcut) to freeze the simulation and return to editing. Stopping clears all run-volatile state — net levels, chip health badges, any sequential state (counter values, shift-register contents, clock phase), and over-voltage chip damage, so a chip you burnt out is whole again the moment you stop. Nothing that happens during a run outlives it.
Space is disabled while a placement, wire, or bus tool is armed (it might
want the key for its own gesture) or while a text field has focus — use
Cmd/Ctrl+R in that case, or just click Run.
Signal levels: H, L, Z, X
Every point in the circuit — a hole, a pin, a wire — settles to one of four levels. The probe tool and the logic analyzer both speak this same vocabulary (see Probing & Net Names):
H— logic high, driven by a supply or a chip output.L— logic low, driven the same way.Z— floating: nothing is actively driving this point. What a chip input makes of that depends on its logic family, exactly as on a real bench:- a 74LS (TTL) input pulls itself up — a floating input reads as HIGH, so an unconnected input doesn't just do nothing, it behaves as if tied high;
- a CD4000 (CMOS) input has nothing to pull it anywhere — a floating
input reads as unknown (
X), so whatever it feeds is unknown too. A gate whose other input already decides it still answers (a NOR with one input HIGH is LOW whatever the floating one does), and a counter or flip-flop whose reset or clock floats loses track of its count until a clean reset. Tie every CMOS input — spare gates included.
X— unknown: two drivers disagree on a net (two chip outputs fighting, or opposing supplies wired together), a floating CMOS input, or the net never settled to a stable value at all (an oscillation — see below).
You don't need to know how the engine computes these to use the app, but
recognizing X on a probe reading is the fastest way to spot a wiring
mistake.
What re-settles the circuit
The circuit isn't a one-shot calculation — anything that could change what a net carries triggers a fresh settle while you're running:
- Clicking a switch or button.
- Turning a PSU on/off or changing its voltage.
- Changing a clock's rate or manual/free-running mode.
- A manual clock click, or (for sequential circuits) a Step advance.
- A timer reaching its next edge — a 555 or an RC-timed CD4000 part keeps its own time and re-settles the circuit at exactly the moment its output changes, with no clock brick involved (see Timers).
Each re-settle starts from the previous stable state rather than from scratch — this warm start is what lets a cross-coupled latch or a counter hold its value across small changes instead of resetting every time you touch something.
The transport — Pause, Step & speed
For circuits with a clock source, the toolbar grows a small transport cluster next to Run the moment you start:
- Pause / Resume — freezes the free-running clock's edges without stopping the simulation; everything stays lit exactly as it was. Click again (the button relabels to Resume) to continue. To hold just ONE clock while the rest of the circuit keeps running, use the ⏸ button on that clock brick instead (see Power & Clock Sources).
- Step — advances the circuit by exactly one clock half-period: every free-running clock flips once, and the circuit settles around it. Stepping implies Pause, so you can single-step a counter or shift register edge by edge and watch each bit change. A manually-toggled clock steps only on its own click, not on Step.
- Speed (
×¼/×1/×4) — click to cycle the free-running clock rate up or down. It scales every clock brick on the desk together, so a design with more than one clock keeps their relative timing. Edges are worked out in batches between the frames you see, so the rate isn't capped — but a busy circuit at 1 kHz × 4 (8,000 edges a second) can be more than your computer can work out. Then the circuit runs as fast as it can, and the button shows the speed it is actually managing beside the one you asked for, in amber:×4 · ×1.7. Every edge still happens, in order, at its own moment; time simply runs slower. The same readout appears when an Arduino connected through Arduino Integration can't answer as fast as the clock asks: the circuit waits for the board on every output it sends, and that waiting is the run going slower too.
Timers keep simulated time, and the transport owns it. A 555 or a CD4000
timer is told how long the circuit has been running — real seconds since
Run, scaled by the speed. Pause stops that clock along with the clock
bricks, so a pulse in progress is frozen where it is; Speed scales it, so
a 1 Hz 555 blinks four times a second at ×4; and Step moves it on with
the clocks — by the fastest clock's half-period, or, with no clock brick on
the desk, straight to the next moment a timer's output changes, so a circuit
built round a 555 can be single-stepped edge by edge too.
See Power & Clock Sources for placing and configuring a clock brick, and Logic Analyzer & Timing for capturing what these edges actually do to your signals over time.
What lights up while running
Live views render entirely from the settled simulation state — nothing is computed by the views themselves:
- LEDs light when their anode net is
Hand their cathode net isL— provided something is limiting the current. An LED driven directly between a strong supply and strong ground, with no series resistor anywhere in the loop, shows a distinct burnt cue instead of lighting: that connection would fry a real LED, so it fries this one. A net reached through a resistor is only weakly pulled rather than strongly driven, which is what makes the resistor count. This is a physical rule, not a logical one — the levels alone would happily light it. A CD4000 output at 5 V or below limits the current by itself, so an LED wired straight onto one lights rather than burns — see Mixing logic families. - Chips show a small health badge the moment they're powered: normal chips show nothing extra, an underpowered chip (a 74LS part at 3 V) gets an amber corner dot, and a chip killed by over-voltage shows damaged — a red X with a smoke cue. Hover the badge for the exact reason (also unpowered or reversed VCC/GND). A damaged chip stays dead for the rest of that run, and Stop restores it — see Power & Clock Sources.
- Probe highlights tint whatever net you hover by its live level. Full detail on reading and naming nets lives in Probing & Net Names — this page won't duplicate it.
- Clock bricks carry a small pulse lamp that tracks their own current output level in real time.
- Timers print their rate or pulse length under their part number — in amber when it is faster than the desk can draw — and show a warning triangle when they cannot make out their own wiring. Hover either for the full sentence; see Timers.
Interacting live
Switches, push buttons, and clock bricks stay fully interactive while running — click a slide switch to flip it, hold a push button or a tactile button to press it, click a DPDT push switch to latch or release it, click one position of a DIP switch bank to open or close it, or click a manual clock to pulse it by hand. Each of these is exactly the kind of input event described above: it doesn't just update its own view, it triggers a fresh settle of the whole circuit, so downstream LEDs and chips react immediately.
Everything that edits the circuit's topology — placing, moving, or deleting a part, board, or wire — is locked out until you Stop. Part state (a switch position, a button press, a clock's phase) is not topology, so it stays live the whole time you're running.
Oscillations & conflicts
"The circuit settles" just means: the engine keeps re-evaluating every net and chip, feeding each result back in, until nothing changes anymore. Most circuits reach that fixed point in a handful of passes, faster than you can perceive.
Two things can go wrong:
- A conflict or short — two chip outputs disagreeing on the same net, or
opposing supplies tied together — settles immediately, but to
X, and the app raises a warning naming the net. An analog switch (CD4066B, CD405x) can make one too: a closed channel joins the nets on its two sides, a supply crossing it counts as an ordinary output, so a rail switched onto an output is a conflict, and a channel joining + to − is reported as a short. - An oscillation — a circuit that never stops changing (an unbuffered
ring of inverters, for instance) can't reach a fixed point at all. Chip
Hippo detects this — after a bounded number of attempts it gives up,
marks the still-changing nets
X, and flags the oscillation rather than hanging.
Either way, the affected nets read X on the probe and in the logic
analyzer, which is your cue to go find the wiring mistake causing it.
Mixing logic families
A 74LS (TTL) chip and a CD4000 (CMOS) chip can share a board, and at 5 V they can share signals — but the two were not designed to the same voltages, and Chip Hippo says so where it matters. None of these changes a level; each is a warning naming the net, with the fix:
- A floating CMOS input — a CD4000 input nothing drives. Spare gates count: their datasheets say to tie every unused input.
- A 74LS output into a CMOS input — a 74LS HIGH is about 3.4 V, below the 3.5 V a CD4000 input needs at 5 V. It usually works on a bench, which is why it is marginal rather than wrong; a pull-up resistor from the net to VCC is the textbook fix, and clears the warning.
- Too many TTL loads — a standard CD4000 output can hold only one 74LS input LOW. The CD4049UB and CD4050B buffers exist for exactly this: one of their outputs drives eight.
- Two supplies on one net — chips on different supply voltages joined by a signal, which needs a level shifter. The CD4049UB and CD4050B are one: their inputs may be driven from a higher supply than their own, so a signal coming DOWN into them is not reported. (Ground is shared by every supply, and is never a signal.)
One difference works the other way. A standard CD4000 output is too weak to burn an LED: at 5 V it can push only about 4 mA through one, a fifth of what an LED is rated for, so an LED wired straight onto a CD4000 output with no resistor lights — on the desk as on a bench. The same goes for an LED fed through a CD4066B or CD4051B/52B/53B switch at 5 V, whose on-resistance (about 470 Ω) does the limiting. Above 5 V it stops being true: at 9 V the output would pass about 15 mA and overheat the chip, and at 12–15 V the LED too, so there the LED burns as it would off a 74LS output. Two parts are built to drive hard and burn an LED at any supply: the CD4049UB/CD4050B buffers when their output is LOW, and the CD4511B's segment outputs. A resistor is still good practice.
A more electrical simulation
Everything on this page is the standard engine: every net is a clean logic level and every change arrives instantly. Settings ▸ Spice Lite switches on a second engine with time, charging capacitors, current limits on outputs and supplies, and the resistance of the wires. See Spice Lite.
Next: Power & Clock Sources for supply voltages, the over-voltage damage rule, and clock bricks in depth, or Probing & Net Names to read exactly what's happening on any net.