Memory Chips & the Inspector
Chip Hippo's memory catalog covers both sides of the RAM/ROM divide: address an 8K/32K/128K SRAM for scratch storage that behaves exactly like real silicon (it forgets everything at power-off), or a ROM/EPROM/EEPROM that holds a real byte image between runs — the same image, opened in a floating inspector, that you can browse, hand-edit, and program from a file. This page covers what each kind actually stores, how to get data into a ROM, and how the inspector works.
Volatile vs. non-volatile
Every memory chip in the catalog is one of two kinds, and the difference matters more than the pinout:
- Volatile (SRAM) —
ram-8k,HM62256(32K×8),AS6C1024(128K×8). Contents live only for the current run: they start as random noise every time you press Run, whatever the circuit writes stays readable until you Stop, and then it's gone. Nothing is ever saved to disk for these parts — there's no image to lose, because there was never a file. - Non-volatile (ROM/EPROM/EEPROM) —
rom-8k,28C16(2K×8 EEPROM),AT28C256(32K×8 EEPROM, pin-for-pin with theHM62256, so one socket takes either),AM27C1024(64K×16 EPROM). These chips hold a real byte image that persists across runs, and travels inside the project file: save the project and every programmed ROM's contents are written into the.chiphippoalongside the design, so copying that one file to another machine takes the ROMs with it. An unprogrammed chip reads back random noise too — just like an unprogrammed EPROM off the shelf — until you program it. (Between saves the bytes are kept in a working file in the app's own data folder; which file backs which chip is internal bookkeeping you never need to touch by hand.)
The chip's blurb in the parts palette and pin-assignments window always says which kind it is, and its behavior — read timing, chip-enable/output- enable pins, address/data bus width — is otherwise ordinary combinational logic. See The Chip Library for the full catalog and the pin-assignments window.
Programming a ROM
The circuit itself can never write a non-volatile chip. An EEPROM or EPROM's real write cycle isn't something the simulator drives — Chip Hippo treats every non-volatile part as read-only from the circuit's point of view, the same way you couldn't reprogram a 27C-series EPROM just by wiggling its pins on a breadboard. Any write a chip reports during simulation is silently dropped if the chip is non-volatile.
The only way to put data into a ROM is the external programmer:
- Right-click the chip on the desk and choose Properties….
- Click Load image… (program).
- Pick a
.bin(raw bytes) or an Intel HEX file —.hex, SDCC's.ihx,.ihex, or a HEX file under any other name (Chip Hippo recognises it by what it holds).
A .bin image is copied to the start of the chip's memory. If the file is
smaller than the chip, only the start is overwritten and the rest is left
alone; if it's larger, it's truncated to fit — either way you get a warning
telling you what happened. A .hex file says where each byte goes, so its
bytes land at their own addresses, wrapped to the chip's size, the way an
EPROM programmer places them: a program assembled at $E000 with its reset
vector at $FFFA, loaded into a 32 KB ROM, puts the code at offset $6000
and the vector at $7FFA — right for a ROM decoded at $8000. Bytes the
file doesn't mention keep what they held. (Only a HEX file whose data spans
more than the chip holds is loaded from its lowest address and truncated.) Once programmed, the chip is flagged
programmed, which rides undo/redo like any other edit, and the chip
keeps its new contents the next time you open the document or press Run.
The chip also remembers which file you loaded. The Properties dialog shows it as Image file, so you can tell at a glance whether a ROM holds the monitor image or last week's experiment. If you go on to edit the bytes by hand in the inspector, the file is still shown — marked (edited), since it is where the data came from but no longer what the chip holds.
Programming is only available while editing is unlocked (i.e. the simulation is stopped) — see Running a Simulation.
The memory inspector
Every memory chip — SRAM or ROM alike — has a floating inspector window: right-click it on the desk and choose Inspect Memory. It's a hex/ASCII grid, one row per 16 bytes, with a toolbar for Go to (jump to an address), Fill (write a byte value across a start/end range), Save, and Import/Export.
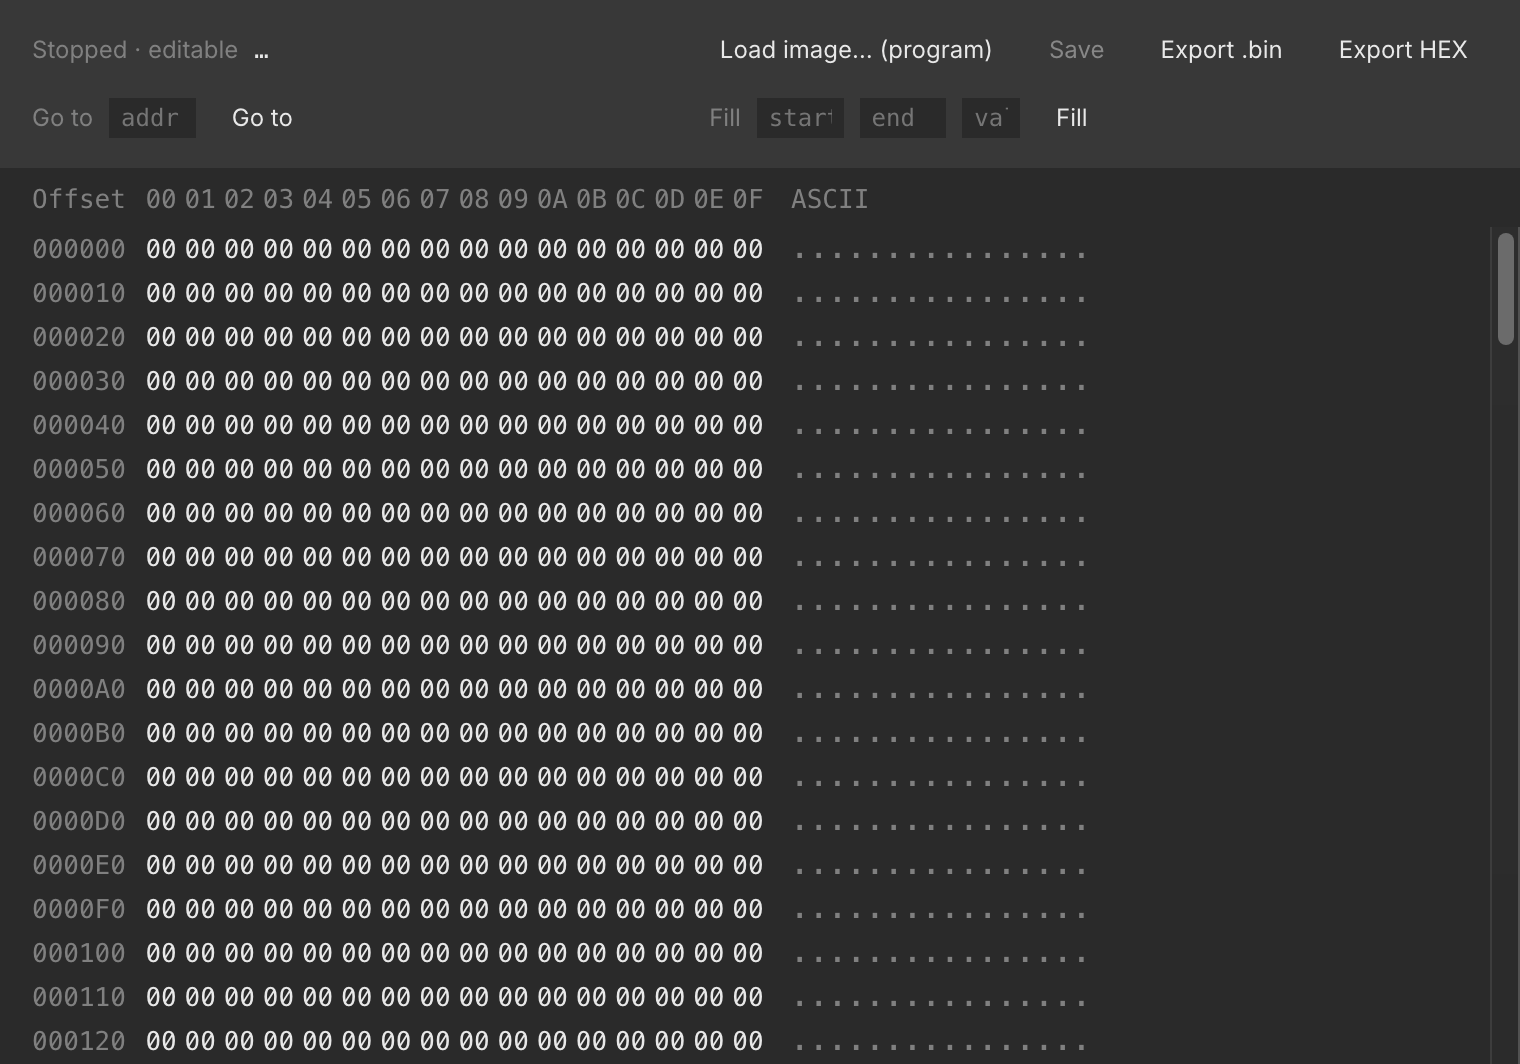
What you can do depends on whether the simulation is running and what kind of chip it is:
- Stopped, ROM/EPROM/EEPROM — the grid is editable. Click a hex or ASCII cell to type a new byte value directly, or select a range and Fill it. Typing runs straight through, as in a hex editor: a byte's second hex digit (or an ASCII cell's one character) writes it and moves to the next byte, so a run of values needs no clicks between them. With a byte selected and no editor open, just start typing — the first digit goes into that byte (or, if you last clicked the ASCII column, the character does). Enter stops where you are, writing a single digit as that value; Escape, or clicking away with only one digit typed, abandons the byte. Save writes your edits back to the chip's file and flags it programmed, exactly like using the external programmer. Until you save, the chip on the desk wears a warning triangle that says Edited, not saved: the circuit reads the chip's file, which doesn't have your edits yet. Closing the inspector without saving discards them.
- Stopped, SRAM — shows the chip's last contents from before it was stopped (or noise, if it's never been run) as a read-only snapshot; there's nothing to save, since SRAM has no file.
- Running, any chip — the grid is a live, read-only mirror of the simulator's own byte image. Bytes the circuit writes are tinted as they change, so you can watch a counter or a shift register fill memory in real time. Editing resumes once you stop.
For a non-volatile part the inspector also names the file its image came from, with Copy path beside it; hover that line to see where the app is keeping the raw bytes on disk. It stays open and live-updating as long as the desk document does.
Import & export (Intel HEX)
Beyond loading a raw .bin, the inspector's toolbar can Export the
current contents as either a raw .bin or an Intel HEX .hex file —
useful for round-tripping through an assembler toolchain or another tool
that expects the hex format. The external programmer (above) accepts either
coming in: a HEX file is decoded before it's written to the chip, and one
with no data records in it at all is refused rather than flagging the chip
programmed.
A missing backing file
Because a ROM's contents live in a file separate from the desk document, it's possible for that file to go missing without the document changing — the classic case is deleting the chip and then undoing the delete. If Chip Hippo finds a chip flagged programmed but its backing file is gone, it recreates the file as fresh noise and warns you that the chip's data was lost, so you know to reload the image rather than trusting stale contents.
See also The Chip Library for the memory chips in context with the rest of the catalog, and Files, Saving & Undo for how the project itself is saved.